


Prerequisites
- Windows 10 version 2004
- WSL v2 Installed and Enabled on Windows
For installation of WSL v2 refer here

Step 1
Download the Linux kernel update package
You will have naturally done this with the installation of WSL v2, yet you may find the update package here
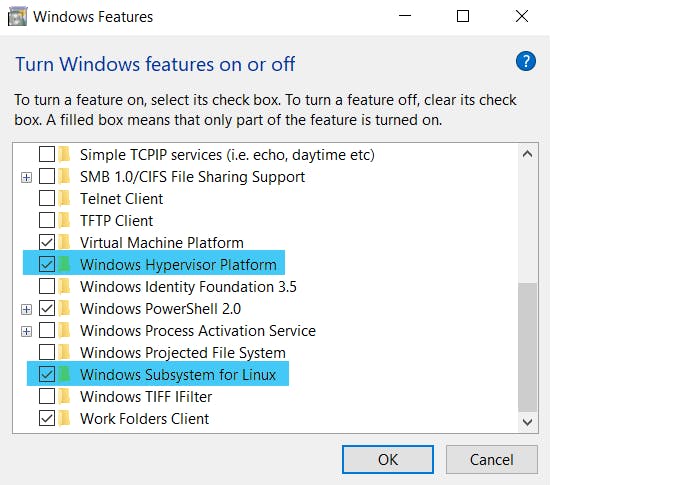
Step 2
Enable the required featues
Search bar > type "Turn Windows features on or off" > Check Windows Subsystem for linux and Windows Hypervisor Platform
Step 3
Download Docker Desktop
Go to this to download docker for windows and click on "Get Docker"
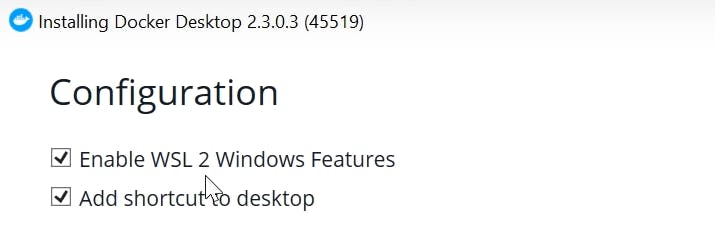
Step 4
Installing Docker
Run the downloaded 'exe' file. It should be named "Docker Desktop Installer.exe"
Allow the required permissions
On the configurations page make sure that the "Enable WSL 2 Windows features" is checked. You can also check the "Add shortcut to desktop" option
Click "OK" to install
Step 5
Restart the system
Restart the system to enable all softwares
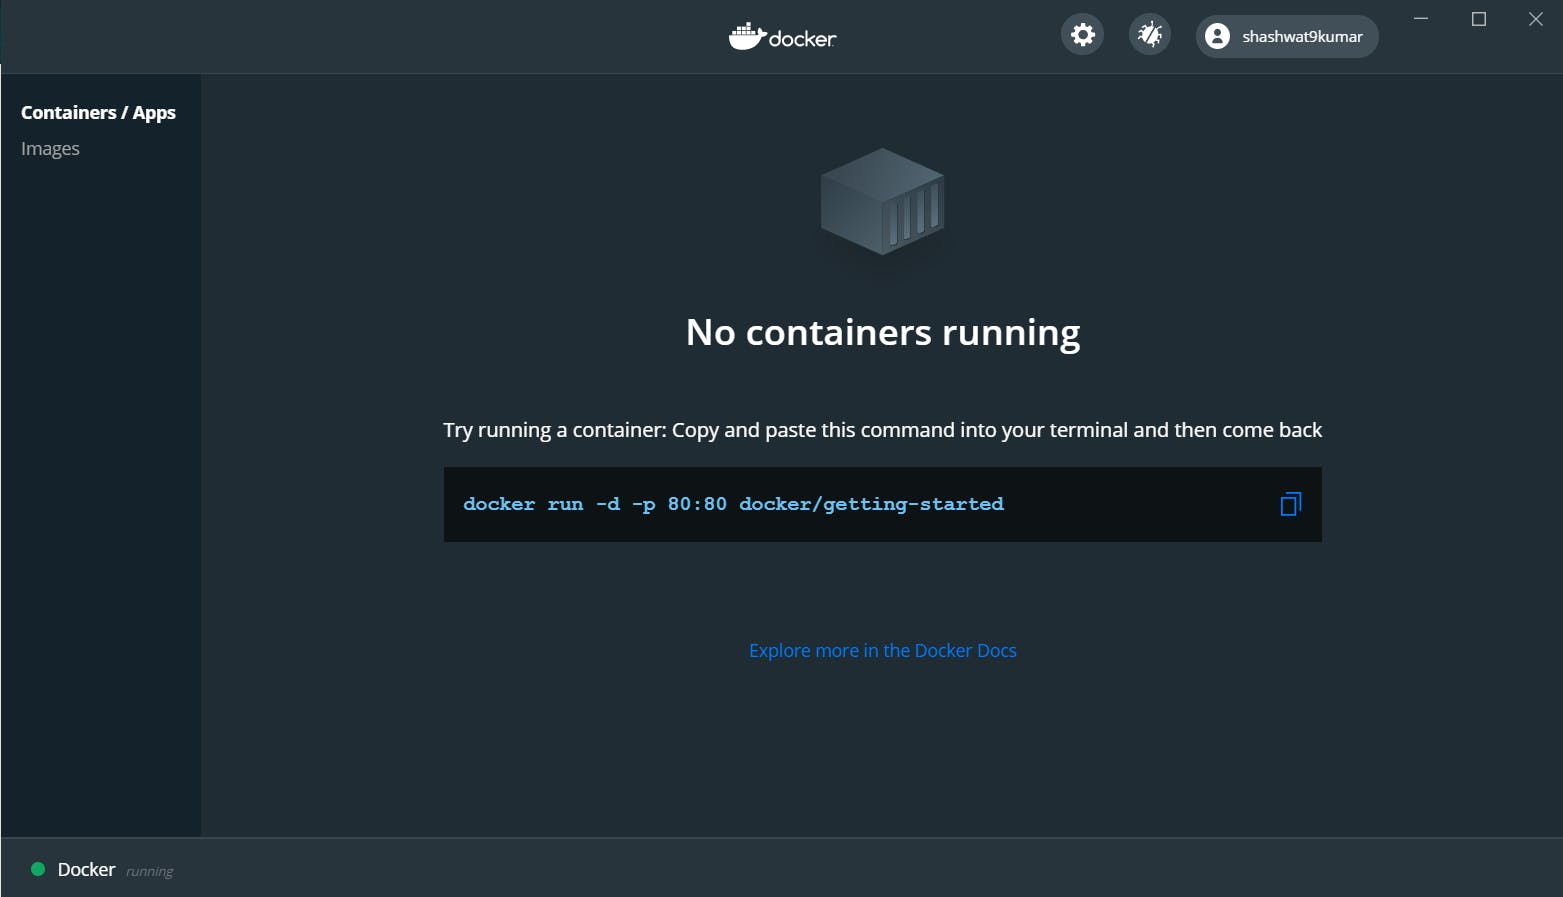
Step 6
Start Docker
Click on the "Docker Desktop" icon on the desktop or search it from the search bar
Once done a message pops up saying "Docker is starting"
 On successful start a notification pops up saying "Docker is running"
Now that Docker has started, the only thing left to do is start the powershell, an Ubuntu shell or connamand line and start hacking
Additionally, you may click on the Docker Desktop icon again to start the Docker dashboard
Congratulations on Installing Docker on Windows 10 home OS. The only thing left to do now is start using docker